Beef Tallow Candles: How to Make Long-Burning Tallow Candles at Home
Reader-supportedHow to make beef tallow candles at home: supplies, wick sizing, the tallow and beeswax recipe, pour temperature, burn time, pillar molds, and troubleshooting.

This post contains affiliate links. We may earn a commission if you purchase through these links, at no extra cost to you.
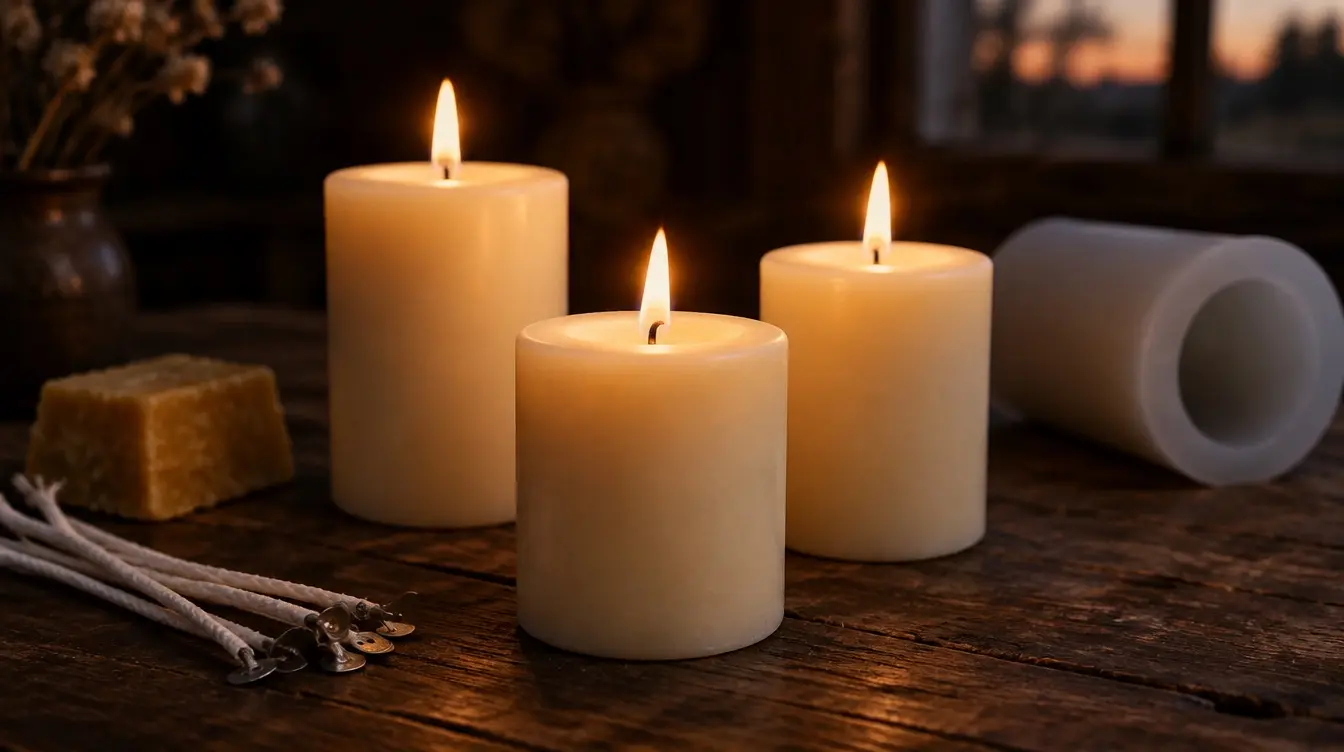
To make beef tallow candles, melt clean rendered tallow (plus about 10% beeswax if you have it), pour it at about 130°F into a jar with a centered cotton wick sized for the jar’s width, let it cool slowly, top off any dip around the wick, and let it rest 24 hours before the first burn. An 8 oz tallow candle burns roughly 35 to 50 hours. The whole project takes about 30 minutes of active work.
I made my first tallow candle in a coffee mug because I was out of jars. It burned for almost 40 hours, smelled faintly like a butcher shop, and made it obvious why households lit their homes with tallow for centuries. This guide covers the recipe, the gear, wick sizing, the pour temperatures that matter, and fixes for the problems every new tallow candle maker runs into.
For broader context, the candle making uses page and the DIY candle hub cover history and design options.
Tallow Candles at a Glance
| Candle | Wax | Wick | Pour temperature | Approx. burn time |
|---|---|---|---|---|
| 4 oz jar (about 2.5 in wide) | 3.5 oz tallow + 0.5 oz beeswax | Small cotton wick, e.g. CD-10 | 130°F | 18-25 hours |
| 8 oz jar (about 3 in wide) | 7 oz tallow + 1 oz beeswax | Cotton wick around CD-12 | 130°F | 35-50 hours |
| 12 oz jar (about 3.5 in wide) | 10.5 oz tallow + 1.5 oz beeswax | Larger cotton wick, test burn | 130°F | 55-75 hours |
| Pillar (silicone mold) | Tallow with 25% or more beeswax | Sized to pillar diameter | 130-140°F | Depends on size |
Wick sizes are starting points. Tallow burns differently from paraffin and soy, so test-burn one candle before pouring a batch.
A Short History of Tallow Candles
Before paraffin wax became common in the second half of the 1800s, most homes were lit by fire, tallow or lard candles, and a cheap light called a rushlight: a peeled rush stem dipped in melted fat and burned in a small iron holder. Beeswax candles were a luxury kept for churches and wealthy households because beeswax burned cleaner and smelled sweeter.
Tallow candles were made by dipping cotton wick repeatedly into melted, rendered fat, or by pouring the fat into metal molds. They were cheap because every household that ate beef or mutton produced fat. Their reputation for smoke and a cooking smell is the main reason whale oil and then paraffin replaced them once those became affordable. The history of beef tallow covers the many other household jobs tallow did.
Tallow is back in modern candle making because it is inexpensive, especially if you render your own, and it uses a material many kitchens already produce. With well-rendered, deodorized tallow, a sized wick, and a trimmed flame, the old smoke and smell problems mostly go away.
Why Tallow Works as Candle Wax
Beef tallow is mostly saturated and monounsaturated fat that is solid at room temperature and finishes melting somewhere around 104 to 122°F, depending on the source fat. That range is high enough for a container candle to stay solid in a normal room and low enough for the wick to keep a steady pool of melted fuel.
For comparison, coconut oil melts around 76°F and slumps on a warm day, olive oil stays liquid and belongs in an oil lamp, and paraffin candle waxes typically melt somewhere between about 120 and 160°F. Tallow sits between soft plant oils and paraffin, closer to container soy wax.
Soot mostly comes from an oversized or untrimmed wick, or a flame in a draft, rather than from the fuel alone. A correctly wicked tallow candle with a quarter-inch wick burns with a steady, teardrop flame. My 4 oz tallow desk candle has burned more than 20 hours with the glass still mostly clear.
The two quirks to plan for:
- Shrinkage. Tallow contracts more than paraffin as it cools, which causes sinkholes around the wick. A second top-off pour fixes it.
- Softness. Pure tallow is fine in a jar but soft for a free-standing pillar. Beeswax stiffens it.
What You Need
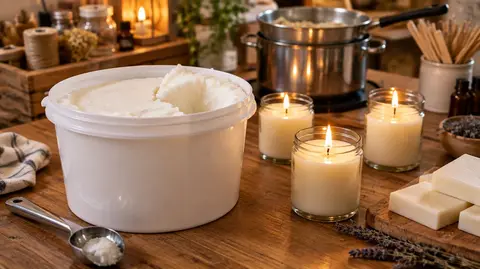
Tallow. Clean, dry, fully rendered tallow. The Traverse Bay 32 oz deodorized tallow is the easiest choice if you want a candle that does not smell savory while burning. The 4 lb grass-fed tallow tub is the better value for batches, since 4 lb is enough for about eight 8 oz candles. If you render your own, strain it through a fine strainer, then cheesecloth, then a coffee filter, as in the tallow filtering and straining guide. Leftover water or protein will pop and spit when the flame reaches it.
Beeswax (optional but recommended). About 10% by weight for container candles, 25% or more for pillars.
A pouring pot and double boiler. A dedicated candle pouring pitcher like the Yarlung 4 lb aluminum pouring pot sits in a saucepan of simmering water and has a spout for clean pours. A 4-cup glass measuring cup set in a pot of water also works.
A thermometer. Pour temperature is the single biggest factor in how the top of a tallow candle turns out. A clip-on thermometer such as the ThermoPro TP509 candy/deep fry thermometer stays in the pot so you can watch the temperature fall.
Wicks. Cotton wicks with metal sustainer tabs. An assortment pack like the buluker pre-waxed cotton wicks with tabs (3.5, 6, and 8 inch lengths) is useful for test burns. For wider containers, around 3.5 inches, a larger CD-series wick such as the Jess Mae CD 18 pre-tabbed wicks is a common starting point. Check the diameter chart on whatever wick you buy.
Containers. Straight-sided, heat-safe glass jars or metal tins. Wide-mouth jars like Ball wide-mouth quart jars have less of a shoulder than regular-mouth jars, so less wax gets stranded near the end of the burn. A quart jar makes a large candle that needs a big wick or two wicks. Avoid thin decorative glass and plastic.
Molds for pillars. Silicone cylinder molds such as these silicone pillar candle molds release easily and need no mold release.
A wick centering tool. A centering bar, or a chopstick or clothespin laid across the jar.
Wick stickers or hot glue, or a dab of melted tallow, to anchor the wick tab.
Choosing the Right Wick Size for Tallow
Wick size decides whether a candle tunnels, drowns, or smokes. Tallow is a relatively soft fat, and like soy and other natural waxes it generally needs wicks designed for vegetable-based waxes rather than paraffin. The cotton CD and LX series are common choices.
Starting points by container width:
- About 2.5 inches wide: a small wick, such as CD-10
- About 3 inches wide: around CD-12, or CD-14 for pure tallow without beeswax
- About 3.5 inches wide: a larger size such as CD-16 to CD-18, and test carefully
- Over 4 inches: consider two wicks
How to tell if the wick is right on a test burn: after about 2 hours the melt pool should reach the edge of the jar and be about a quarter to half an inch deep, with a steady flame about an inch tall. A melt pool that stays narrow means go up a size. A tall, flickering, smoking flame or a very deep pool means go down a size.
The Recipe
For one 8 oz container candle:
- 7 oz (by weight) rendered beef tallow
- 1 oz beeswax pellets (about 10% of the total)
- 1 cotton wick sized for the jar (around CD-12 for a 3 inch jar)
- Optional: essential oil at about 0.5 oz per pound of wax, which is roughly a teaspoon for an 8 oz candle. Cedarwood, frankincense, and rosemary work well. Citrus oils fade quickly.
The beeswax raises the melting point of the finished candle slightly, which helps in warm weather, and stiffens the wax so the candle keeps a cleaner edge as it burns down. A pure tallow candle works too; use a wick one size larger (CD-14 in a 3 inch jar) to get a full melt pool.
Step-by-Step: How to Make a Beef Tallow Candle
Step 1: Check your tallow. It should smell clean or mildly beefy, never sour or crayon-like. Rancid tallow makes a rancid-smelling candle. The guide to telling if tallow has gone bad covers the signs.
Step 2: Prep the jar and wick. Wash and dry the jar. Stick the wick tab to the exact center of the bottom with a wick sticker, a dot of hot glue, or a small spoonful of melted tallow that you let set. Pull the wick straight up and hold it in a centering bar or between a chopstick pair. An off-center wick burns unevenly and tunnels.
Step 3: Melt the wax. Put the tallow and beeswax in the pouring pot set in a saucepan of simmering water. Heat gently to about 160°F, stirring, and hold there for a couple of minutes until the beeswax is fully melted and blended. Do not heat tallow directly over high heat; scorching darkens it and adds off smells.
Step 4: Cool to 140°F and add scent. Take the pot off the heat. When it falls to about 140°F, stir in essential oil if you are using it, for about 30 seconds.
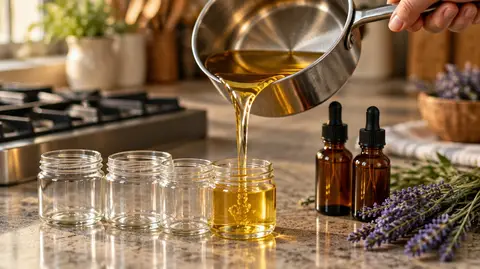
Step 5: Pour at about 130°F. Pour too hot and the wax shrinks hard as it cools, leaving a deep sinkhole around the wick. Pour too cool and it sets before it settles, leaving a lumpy top. Pour slowly in one steady stream, filling to about half an inch below the rim. Save about half an ounce of wax in the pot for a top-off.
Step 6: Cool slowly. Leave the candle at room temperature, away from drafts, cold windows, and air vents. No fridge or freezer. Fast cooling causes cracks and sinkholes. Covering the candles loosely with a cardboard box helps. Full set takes three to four hours for an 8 oz jar, longer for bigger candles.
Step 7: Top off. After about two hours, when the surface is firm but the center is still soft, you will usually see a dip around the wick. Rewarm your reserved wax to about 130°F and pour just enough to fill it. The second pour fuses to the first and leaves a flat top.
Step 8: Rest 24 hours. Let the candle sit a full day before the first burn so the wax finishes setting.
Step 9: Trim the wick to 1/4 inch before every burn. A long wick mushrooms, smokes, and blackens the jar.
Tallow Pillar Candles in Silicone Molds
Free-standing pillars need firmer wax than jar candles, because nothing holds the sides up once the candle starts to burn. Pure tallow can soften and slump in a warm room, so blend in beeswax, starting at about 25% and going up toward half if your pillars still feel soft.
- Thread a wick through the hole in the bottom of the silicone mold, seal the hole from outside with a bit of putty or tape, and hold the top of the wick centered.
- Melt the tallow and beeswax together, then pour at about 130 to 140°F.
- Cool slowly and top off the sinkhole as for jar candles.
- Unmold once completely cool and firm, usually several hours to overnight. Trim the wick.
Burn pillars on a heat-safe plate. Pillars are harder to wick than jars, so expect a test candle or two.
Dipped Tallow Candles and Rushlights
Dipped taper candles are the traditional method. Tie a length of cotton wick to a stick, dip it into melted tallow at around 150 to 160°F, lift it out, let it cool for a minute, and repeat, dozens of times, until the candle is the thickness you want. Straightening the wick with a small weight on the bottom for the first few dips helps. Beeswax blended in makes tapers less likely to bend and drip.
A rushlight is the simplest version: a dried, peeled rush dipped a few times in tallow. It burns briefly and is mainly a history project today.
Burn Time and the First Burn
A well-made 8 oz tallow candle burns about 35 to 50 hours. A 4 oz candle in the same width burns 18 to 25 hours, and a 12 oz candle 55 to 75. As a rough rule, expect about five to six hours per ounce once the wick is sized right.
The first burn sets the pattern for the life of a container candle. Leave it lit until the melt pool reaches the edge of the jar, about two hours for an 8 oz candle. Blowing it out early causes tunneling, where the wick burns down the middle and leaves a wall of unused wax.
Basic candle safety applies: never leave a burning candle unattended, keep it away from anything flammable and out of reach of kids and pets, burn it on a heat-safe surface, and stop using a container candle when about half an inch of wax is left, as the National Fire Protection Association recommends.
Troubleshooting Tallow Candles
Tunneling. Wick too small for the container, or the first burn was too short. Next time let the first burn reach the edge. To rescue a tunneled candle, wrap a collar of foil around the top of the jar, leaving an opening in the middle, and burn for an hour so the wall melts back in.
Sooting or smoking. Wick too large or too long, or a draft. Trim to 1/4 inch and move the candle. If it still smokes, go down one wick size.
Wick drowning. Wick too small for the melt pool, or too much beeswax for that wick. Go up a size or reduce the beeswax.
Sinkholes around the wick. Poured too hot or cooled too fast. Pour at 130°F and top off. To fix a finished candle, warm the surface with a heat gun until the top quarter inch melts and let it reset slowly.
Cracks. Cooled too fast, often near a cold window or vent. Cool at room temperature under a loose cover.
Lumpy or frosted surface. Poured too cool or cooled in a draft. A quick pass with a heat gun smooths the top.
Leaning wick. The wick was not held centered while the wax set. Keep the centering bar in place until the candle is fully firm.
Spitting or popping. Water or protein bits in the tallow. Re-melt and strain through a coffee filter.
Savory smell while burning. The tallow was not deodorized, or a citrus oil burned off and uncovered the tallow scent. Use deodorized tallow like Traverse Bay, or clean your own with the methods in how to render beef tallow without the smell. Cedarwood, frankincense, and rosemary cover better than lemon or orange.
Storing Tallow Candles
Store finished candles like tallow itself: cool, dark, and covered. Unscented tallow candles kept in a cool cabinet generally stay pleasant for about a year before the fat starts to smell stale. Essential oils can shorten that. If you make candles ahead for gifts, a lid on the jar and a cool spot help, and making smaller batches you will burn within a few months avoids the problem.
What Tallow Candles Cost to Make
Tallow is one of the cheapest candle fuels, especially if you render fat from a butcher yourself. The best cuts of beef for rendering and the step-by-step rendering guide cover getting candle-ready tallow from raw suet. A pound of tallow makes about two 8 oz candles. Wicks, jars, and a pouring pot are one-time or low-cost purchases, and jars can be reused.
Frequently Asked Questions
Can I use suet directly without rendering it first?
No. Raw suet contains water, connective tissue, and protein that sputter, smoke, and shorten burn time. Render it and strain it first. The rendering and filtering guides linked above cover the process.
Will a tallow candle smell like food while it burns?
If the tallow smells meaty in the jar at room temperature, it will smell meaty when it burns. Deodorized tallow has had most of those odor compounds removed. Well-rendered but undeodorized tallow has a mild scent that some people like. Make one small candle before committing a whole tub.
Will tallow candles go rancid?
Eventually. Stored cool and dark, unscented tallow candles usually stay fresh for about a year. Use them within several months for the best smell.
Are tallow candles safer than paraffin candles?
All candles produce combustion byproducts, and a badly wicked candle of any wax produces soot. Paraffin is a petroleum product, and some studies have measured compounds such as benzene and toluene from burning paraffin, though how much this matters at normal home use is debated. Tallow, like beeswax and soy, is a natural fat or wax that burns mainly to carbon dioxide and water when the wick is right. Whatever you burn, ventilate the room and keep the wick trimmed.
How long do beef tallow candles burn?
About five to six hours per ounce of wax with a correctly sized wick, so an 8 oz candle burns roughly 35 to 50 hours.
Can I add color to a tallow candle?
Yes, with oil-soluble candle dye chips or blocks. Food coloring and water-based colorants will not mix into fat.
What is the best beef tallow for candle making?
For low cost per candle, the 4 lb grass-fed tallow tub. For the most neutral smell, the Traverse Bay 32 oz deodorized tallow. Home-rendered tallow works well if you strain it thoroughly.
Bottom Line
A beef tallow candle is a short project: 7 oz of tallow and 1 oz of beeswax in an 8 oz jar, a centered cotton wick sized for the jar, a pour at 130°F, a top-off, and a 24-hour rest. Trim the wick before every burn and give the first burn time to reach the edge.
For more tallow projects around the house, see the candle uses page and the DIY candle hub. If you render your own fat, the rendering equipment guide and the rendering safety guide cover the upstream side.
Explore more tallow guides
Browse our collection of recipes, comparisons, reviews and DIY tutorials.
View all guidesKing Tallow is reader-supported. We research and test the products we recommend, and when you buy through links on this page we may earn a commission at no extra cost to you. See our affiliate disclosure.
Published · Last updated