
Instant Pot Beef Tallow Rendering: Fast, Clean Results at Home
Reader-supportedRender beef tallow in an Instant Pot in under 90 minutes. Sealed kitchen, no smell, very white tallow. Step by step with water ratio, time, and yield.

This post contains affiliate links. We may earn a commission if you purchase through these links, at no extra cost to you.
I avoided the Instant Pot for years. I thought rendering was a slow, traditional process that the Instant Pot was going to somehow ruin. Then a friend who renders tallow professionally for soap making told me she does every batch in a pressure cooker now, and I gave it a fair shot.
She was right. The Instant Pot gives you a finished tallow that is whiter, milder, and faster than anything else you can make in a home kitchen. It also seals in the smell, which alone is worth the price of the appliance if you have a tiny kitchen or a partner who does not want the house to smell like a steakhouse for a full afternoon.
Here is the method that has become my default for any batch under three pounds.
Why the Instant Pot Works So Well
There are three reasons the Instant Pot beats every other home method for clean, neutral tallow.
The pressurized lid traps every drop of steam and aroma inside the pot. Your kitchen smells like nothing. I cannot overstate how nice this is if you live in an apartment or you cook in an open-plan space where smells travel.
The water you add at the start anchors the cooking temperature at 212F. Beef proteins do not start browning meaningfully until you push past 250F. With water in the pot, you physically cannot exceed 212F while there is still liquid water present, which means your cracklings stay pale and the finished fat stays whiter than any dry-rendering method can manage.
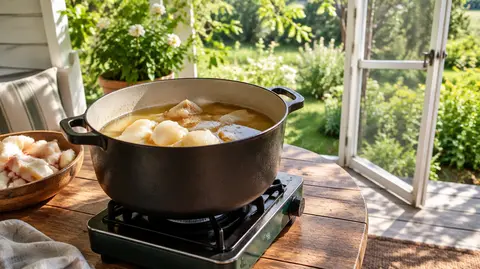
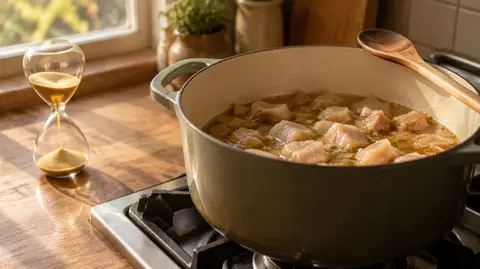
It is fast. Forty-five minutes at high pressure, fifteen to twenty minutes of natural release, and another ten to twenty minutes of sauté setting to boil off the water. Start to finish, you are looking at 75 to 90 minutes for a batch that would take a slow cooker overnight.
For the broader rendering context, my home rendering walkthrough covers the underlying basics, and the slow cooker method is the direct counterpart if you want to compare hands-off ease against speed.
What You Need
A 6-quart or 8-quart Instant Pot. The 6-quart handles 2 to 2.5 pounds of suet comfortably. The 8-quart can do 3 to 4. I do not recommend rendering more than that in a single batch because the depressurization gets unpredictable when the pot is more than two-thirds full.
A fine-mesh strainer plus cheesecloth. Same as any other rendering method.
Heatproof glass jars. Wide-mouth mason jars are the easy choice.
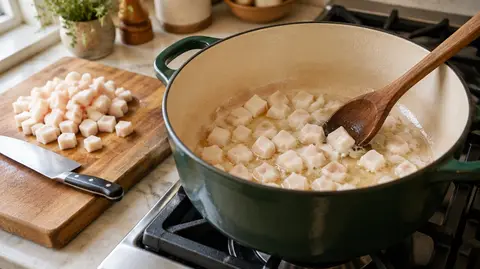
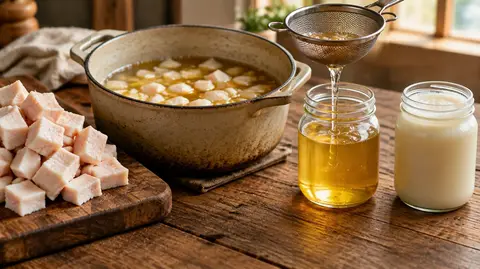
Two pounds of fresh beef suet, diced into half-inch cubes. Leaf fat from around the kidneys is the gold standard. I covered the cut selection thinking in best cuts for rendering.
One cup of water. This is the critical ingredient that turns this into a wet render and keeps the tallow white. Do not skip it. Do not reduce it.
If you want a known-clean reference point to taste your homemade Instant Pot batch against, I keep a jar of Traverse Bay Farms 32 oz in the pantry. It is deodorized at the source and gives you a baseline for what mild, neutral tallow should look and smell like. The 4-lb grass-fed jar is the everyday cooking standard I compare flavor against.
Step by Step
Step 1: Dice the Suet
Cold suet, sharp knife, half-inch cubes. Trim away any red meat, silver skin, or yellowed patches before you cube. The cleaner the trim, the milder the finished fat. Read more on rendering safety and temperature control in rendering safety.
Step 2: Add the Suet and the Water
Drop the diced suet into the Instant Pot inner pot. Add 1 cup of cold water. The suet will float in the water at first. That is fine.
Do not add salt, spices, or anything else. You want a clean, neutral starting point.
Step 3: Pressure Cook on High for 45 Minutes
Close the lid. Set the valve to sealing. Press Pressure Cook (or Manual on older models) and set the timer for 45 minutes at high pressure.
The pot takes 10 to 15 minutes to come up to pressure. Then it counts down 45 minutes. You can leave the kitchen during this entire phase. The pot is locked and silent.
Step 4: Natural Release for 15 to 20 Minutes
When the timer beeps, do not touch the valve. Let the pressure release naturally. Forcing a quick release with a pot full of hot fat and water is a recipe for a fountain of liquid fat shooting out of the valve, and you will be cleaning your ceiling for a week.
After 15 to 20 minutes the float pin drops and the lid unlocks. Now you can open it.
Step 5: Sauté Setting to Boil Off the Water
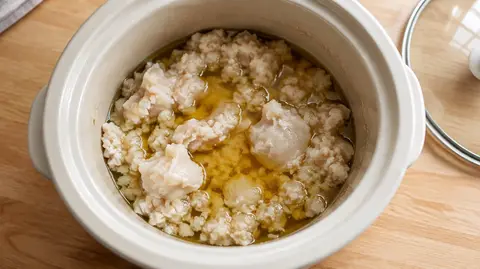
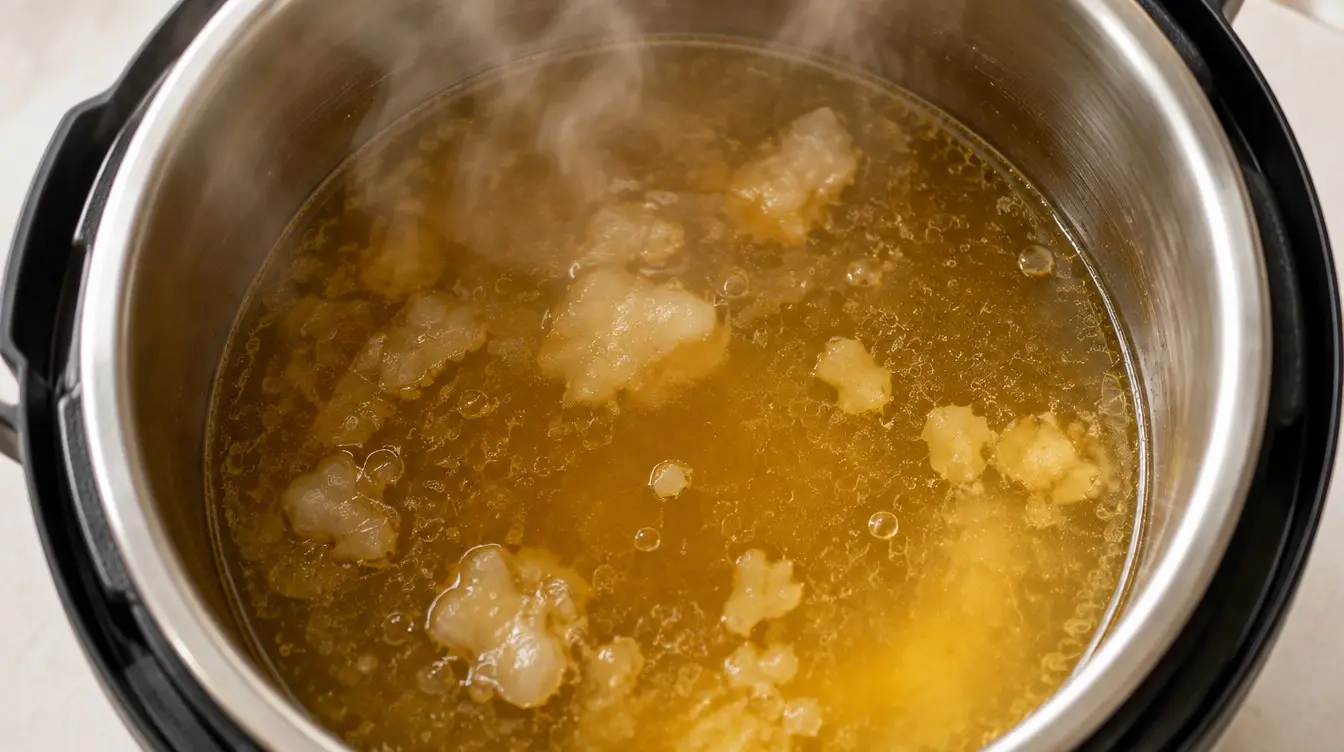
Open the lid. The contents will look like a soup of cracklings floating in cloudy liquid. That cloudy liquid is fat suspended in water.
Press Sauté and set it to low. The mixture starts bubbling gently. As the water boils off, the cloudy emulsion separates and the liquid turns clear amber. This stage takes 10 to 20 minutes depending on how much water came out of the suet (sometimes more than the cup you added).
You will know the water is gone when the bubbling changes character. With water present, the bubbling is rolling and energetic. Once the water is gone, you get smaller, more aggressive bubbles from the fat itself heating up. As soon as you see that transition, turn the sauté off.
Do not walk away during the sauté phase. The fat goes from “boiling off water” to “starting to brown” faster than you would expect, and a few minutes of inattention can take you from white tallow to amber tallow.
Step 6: Strain
Pour the hot contents through a fine-mesh strainer into a heatproof bowl. The cracklings stay behind. The clear amber fat goes through.
Now line the strainer with two layers of cheesecloth and pour the once-strained fat through again. This catches the fine particles.
If you are detail-oriented, this is the moment to do a salt purge or a milk soak to push the smell even further toward neutral. I covered both methods in why beef tallow smells like beef. For most Instant Pot batches, the finished tallow is already so neutral that you can skip those steps and jar it as is.
Step 7: Jar and Cool
Pour the hot tallow into wide-mouth mason jars with half an inch of headspace. Let it cool to room temperature on the counter before capping. Refrigerate for 12 months of shelf life or pantry-store for 6.
Expected Yield
For a 2-pound batch of clean leaf suet, expect 1.2 to 1.3 pounds of finished tallow. About 60 to 65 percent by weight, identical to the slow cooker.
The Instant Pot does not magically give you more yield than other methods. What it gives you is a finished product that is whiter and milder for the same amount of input fat.
The cracklings come out of an Instant Pot batch a little softer than slow cooker cracklings because they were partly steamed. They are still snackable but they will not crisp up the same way. If you want classic crispy cracklings as a side product, the slow cooker or stovetop methods give you better results.
Common Mistakes
Skipping the water. The water is what keeps the temperature at 212F and prevents browning. Without it, you are dry-rendering under pressure, which is unpredictable and can scorch the bottom of the pot.
Quick releasing the pressure. Hot fat under pressure plus a sudden release equals a mess. Always natural release.
Walking away during the sauté phase. The water-off transition is the most attention-intensive part of the whole process. Stay at the pot.
Filling the pot more than two-thirds full. Suet expands and bubbles as it renders. A nearly full pot can plug the pressure valve, which is a safety issue you do not want.
Using the wrong setting. Some Instant Pot models have a “Slow Cook” function that runs cooler. You want Pressure Cook on high for this method. Slow Cook in an Instant Pot is not as effective as a dedicated slow cooker.
For more on the equipment and decision-making side, the rendering equipment guide covers the case for adding an Instant Pot to your kitchen if you do not already have one.
When to Use the Instant Pot Versus the Slow Cooker
I default to the Instant Pot for any batch up to 3 pounds where I want the cleanest possible result and I am home for the next two hours.
I default to the slow cooker for any batch over 3 pounds, or for any time I want to start the rendering before bed and walk away. The slow cooker is the better choice for fully unattended overnight work.
Both methods give you whiter, milder tallow than the stovetop or oven. The choice between them is mostly about timing.
For a side-by-side context on every method, my stovetop vs oven post and the time-and-temperature guide lay out where each method lands.
Frequently Asked Questions
Will the Instant Pot smell of beef after?
A little, the first time. After a thorough wash with hot soapy water and a vinegar steam cycle (a cup of vinegar plus a cup of water on high pressure for 5 minutes), the smell is gone. I have used the same Instant Pot for tallow and then for chicken stock the next day without any flavor crossover.
Do I need a special Instant Pot model?
No. Any 6-quart or 8-quart pressure cooker with a Sauté function works. The Duo, Duo Plus, Ultra, Pro, all fine. The Lux model lacks Sauté, which is a problem because the water boil-off step needs it.
Can I render frozen suet?
Yes. Add 10 minutes to the pressure cook time. The result is identical.
Why is my finished tallow still cloudy?
Either there is water left in it (run the sauté longer to boil it off) or the cheesecloth straining picked up tiny particles. Both fix themselves. If it is cloudy at room temperature after a day, re-melt it and run a fresh cheesecloth pass.
Can I do skincare-grade tallow this way?
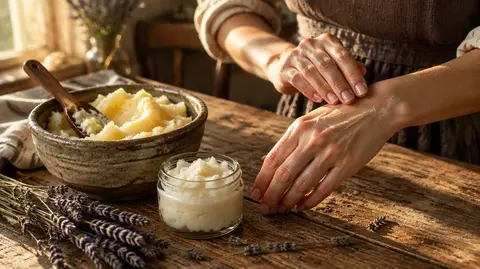
This is one of the best home methods for skincare tallow because the result is so neutral. Run a milk soak after the Instant Pot render and you will end up with something pale enough to use in body butter and balm projects.
Bottom Line
Instant Pot rendering is fast, clean, and gives you the whitest home-rendered tallow I have produced. Two pounds of diced suet, one cup of water, 45 minutes high pressure, natural release, sauté off the water, strain twice. Done in 90 minutes.
For the cooking benchmark I compare every homemade batch against, the 4-lb grass-fed jar is the standard. For the deodorized baseline that matches a well-rendered Instant Pot batch almost exactly, Traverse Bay 32 oz is the closest commercial match. Once you have run the Instant Pot method a couple of times, you will probably find yourself reaching for it more than any other rendering tool in your kitchen.
Explore more tallow guides
Browse our collection of recipes, comparisons, reviews and DIY tutorials.
View all guidesKing Tallow is reader-supported. We research and test the products we recommend, and when you buy through links on this page we may earn a commission at no extra cost to you. See our affiliate disclosure.
Published