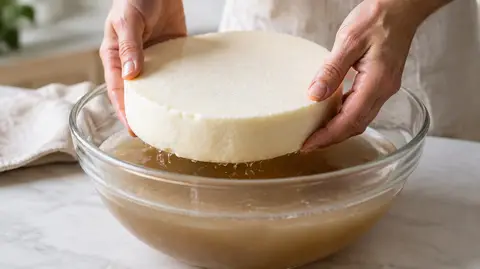



How to Render Beef Tallow Without the Smell: Practical Tips
Reader-supportedTactical tips to render beef tallow without filling your kitchen with beefy smell. Wet rendering, Instant Pot, ventilation, candles, and post-render cleanup.

This post contains affiliate links. We may earn a commission if you purchase through these links, at no extra cost to you.
My wife is patient about most of my kitchen projects. She is less patient about the smell of slow-rendering beef fat working its way through every room of the house for six hours on a Saturday. I have lost the right to render tallow in late spring when the windows have to stay open, and I have learned a few tricks the hard way to keep the smell down the rest of the year.
None of these will make a render zero-smell. Beef fat melting at low temperature is going to put aroma compounds into the air. The goal is to keep it from settling into your couch cushions for two days. With the right setup, you can render 5 to 8 pounds of tallow and have your kitchen back to neutral within an hour of finishing.
Here is what actually works.
The Wet Rendering Trick
The single biggest move you can make is starting with water in the pot.
Here is why. Beef fat releases its strongest aroma compounds during the initial breakdown of meat residue and connective tissue. These compounds are volatile, which means they evaporate at relatively low temperatures and travel through air.
Water in the pot at the start does two things. It keeps the initial cooking temperature pinned at 212F (the boiling point of water), which is below the temperature where most of those aroma compounds aerosolize aggressively. And the steam itself absorbs and condenses some of the volatile compounds before they escape into the room.
The recipe is simple. Add about 1 cup of water per 5 pounds of raw fat at the start of the render. Bring to a low simmer. The water will gradually boil off as the fat melts, and by hour two or three it is gone. By that point most of the strongly aromatic compounds have already been absorbed, condensed, or cooked off.
The trade-off is a slightly longer total render time, maybe 30 to 45 minutes extra. For a half-day of reduced kitchen smell, it is worth it every time.
I went into more depth on this in the wet vs dry rendering comparison. The short version: wet rendering for low odor, dry rendering for faster finish if you do not care about smell.
The Sealed Instant Pot Method
This is the closest thing to a zero-smell home render.
The Instant Pot’s pressure-sealed lid means almost none of the aroma compounds escape into the kitchen during the cook. You set it on low pressure for 90 minutes with a small amount of water (about 1/2 cup per 4 lbs of fat), walk away, and come back to a fully rendered batch.
When you do the pressure release at the end, you will get a brief burst of beefy steam from the vent. Time the release for when you can crack a window or run the range hood. The burst lasts about 30 seconds and then it is over.
Compared to a 4-hour stovetop render where the smell builds in the air for the entire window, the Instant Pot version is a 30-second event. My kitchen smells neutral within 10 minutes of opening the lid.
The downsides: smaller batch size (most home Instant Pots top out around 4 to 5 lbs of raw fat per batch), and you have to do a finishing step on the stovetop afterward to drive off the last of the water. But for indoor rendering in winter, this is what I do.
I have a fuller walkthrough at Instant Pot rendering covering exact times and pressures. The slow cooker section there is the relevant one for the low-pressure approach.
Strong Ventilation
Even with the right method, ventilation moves the needle. The goal is to push the warmed aromatic air outside instead of letting it diffuse through the rest of the house.
What works:
Range hood on high for the full render. This is the baseline. Even a mediocre range hood is meaningfully better than nothing if it vents outside (rather than recirculating).
Window cracked open near the stove. Even 2 inches of open window creates enough airflow with the range hood running to actively pull air out of the house rather than recirculating it.
A box fan in a downwind window pointed outward. If your kitchen has more than one window, point a fan in one to pull air out, and crack a second window across the room to let fresh air in. This is the home-grade version of an industrial exhaust.
Close interior doors between the kitchen and bedrooms. Containing the smell to the kitchen and adjacent rooms makes cleanup faster. If your bedroom door is open during a render, that is where the smell will end up settling.
What does not work:
A range hood that recirculates instead of venting outside. It just moves the air around, sometimes through a charcoal filter that helps a little, but not nearly as much as venting.
Air purifiers. They help with particulates and some VOCs but they are slow and the volume of cooking aromatics is more than most home units can keep up with.
Scented candles alone with no ventilation. This is the worst combination because you end up with beef-and-vanilla. More on this in a second.
Scented Candle Strategy
A good candle is a real assist, but only as a complement to ventilation, not a replacement.
The right approach is to light a scented candle in the room next to the kitchen, not the kitchen itself. The candle does not need to overpower the kitchen smell. It needs to give the surrounding rooms a positive baseline scent so that when residual smell migrates, it has competition.
What works:
- A vanilla, cinnamon, or coffee scented candle in the living room or dining room.
- A simmer pot on a separate burner with orange peel, cinnamon stick, and clove. This actively scents the kitchen while you render.
- An essential oil diffuser running peppermint or eucalyptus in an adjacent room.
What does not work:
- Floral or sweet candles competing directly with beef. They do not blend. You end up with two distinct smells in the same room.
- Tealights or weak candles. They do not produce enough scent volume.
I keep a couple of strong cinnamon-spice candles on hand for render days for exactly this reason.
If you happen to have homemade tallow candles from a previous batch, those are great for ambient warmth but not for masking smell. The tallow candles guide covers what scents work in tallow if you want to make a dedicated set.
Do It On the Porch in Summer
If you live somewhere with outdoor space and warm weather, outdoor rendering is the answer.
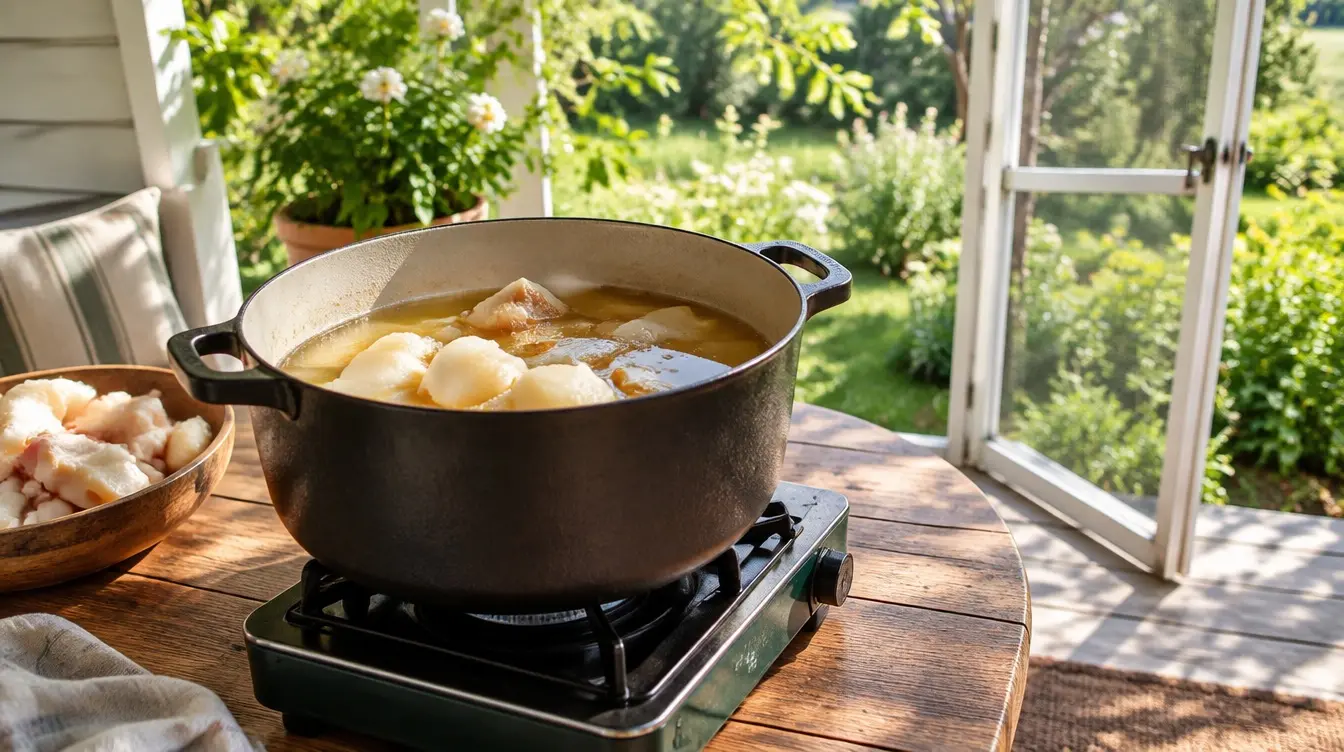
A propane burner on a porch, deck, or patio with a heavy-bottom pot lets you render in volume without any indoor smell at all. The setup runs $80 to $150 for the burner and an old large stockpot is what I use.
This is my preferred method from April through October. I render 10 to 15 pounds of fat in a single batch outside, and the only smell in my house comes from the finished jars I bring back in. By that point the tallow is in its mild-neutral cooking-fat phase, not the strong-beefy initial phase.
A few practical notes:
- Use a heat-resistant surface under the burner. Wood decks need a protective layer.
- Watch wind direction. Set up so the wind blows away from your house and any neighbors.
- Keep a fire extinguisher handy. Outdoor cooking with large volumes of fat is forgiving but not idiot-proof.
- Strain and jar outside too if you can. The last hot moments after pouring are when the most residual smell escapes.
For information on safe outdoor rendering setups and what equipment is worth buying, the rendering equipment guide and the rendering safety guide both cover the basics.
Choose Leaf Fat Over Scrap
The source matters as much as the method.
Different beef fat types release very different amounts of aroma during render. The cleanest, mildest smell comes from leaf fat (the suet around the kidneys). It has the least meat residue and connective tissue, which means the least to break down and the least aromatic compound release.
The strongest smell comes from brisket trim and mixed scrap, which have higher meat content. These render to a richer-tasting tallow but they will fill your kitchen with the most aroma.
If you have a smell-sensitive household, source leaf fat specifically. Ask your butcher for “kidney fat” or “leaf suet.” The beef fat sourcing guide covers how to ask and where to find each type.
If sourcing raw leaf fat is hard, pre-rendered grass-fed tallow skips the render entirely. The Traverse Bay 32 oz jar is the deodorized option I keep on hand for when I want zero risk of any beefy notes in a DIY project.
Post-Render Kitchen Reset
After every render, I do a 10-minute reset to keep residual smell from settling into the kitchen.
Step 1: Wipe surfaces with vinegar solution. Mix 1 part white vinegar to 3 parts warm water. Wipe down the stovetop, the wall behind the stove, the range hood, and any nearby surfaces. Vinegar neutralizes fat-soluble aroma compounds that condense on surfaces during rendering.
Step 2: Run a cup of vinegar through the dishwasher. Empty dishwasher, place a cup of white vinegar on the top rack, run a hot cycle. This pulls any aromatic residue out of the dishwasher seals and air-locks.
Step 3: Wash any towels and pot holders used during the render. Fat aromas cling to fabric. A hot wash takes them out.
Step 4: Open windows for 30 minutes if weather allows. Even after the render is over, residual aromatic air sits in the room. Cross-ventilation clears it fast.
Step 5: Bring in a positive scent. Light a candle, brew coffee, bake something simple. This is the cleanup step my wife appreciates most.
With this routine, the kitchen smells neutral within an hour of finishing. Without it, you can still pick up faint beef aroma for a day or two.
Frequently Asked Questions
Will my house smell like beef for days after rendering?
It does not have to. With wet rendering, decent ventilation, and a post-render wipe-down, the smell clears within an hour of finishing. The longest-lasting residue comes from rendering high-meat-content fat with no ventilation in a closed house, which is the worst case combination.
Is the smell during rendering dangerous?
No. The volatile compounds released during fat rendering are food-grade aromatics, the same kind you smell during any long roasting or slow cooking. They are not toxic. They are just persistent.
Can I render in the oven to reduce smell?
Oven rendering does not reduce smell meaningfully because the oven vent puts the aromatics straight into the kitchen air. The advantage of oven rendering is even heat distribution and walking away from it. The oven vs stovetop comparison covers the trade-offs.
Does grass-fed fat smell stronger than grain-fed?
Slightly, yes. Grass-fed fat has more aromatic compounds from the more varied diet of the animal. The difference is small enough that other variables (fat type, render method, ventilation) matter much more.
How do I get residual smell out of fabric like couch cushions?
A box of baking soda sprinkled on the fabric, left for 4 hours, then vacuumed up will absorb most lingering smell. For deep upholstery treatment, a fabric refresher spray with neutral or vanilla notes works well.
Is the Instant Pot really that much better than stovetop for smell?
Yes, dramatically. The sealed pressure cooking environment contains 95+ percent of the aromatic release until the pressure release at the end. Stovetop releases the same aromatics continuously over 4+ hours. For indoor rendering, Instant Pot is the cleanest method I have found.
Bottom Line
Wet rendering. Sealed Instant Pot when possible. Strong ventilation. Scented candles in adjacent rooms, not the kitchen itself. Outdoor rendering on a porch burner in summer. Leaf fat over scrap when sourcing.
The combination of any three of these techniques will make a meaningful difference. All five together will let you render 5 lbs of fat without your wife noticing until you tell her.
After every batch, do the vinegar wipe-down, run a vinegar cycle in the dishwasher, wash the towels, and crack a window. Your kitchen will smell neutral within an hour.
If rendering at all sounds like more project than you want, grass-fed pre-rendered tallow skips the whole equation. The tallow shelf life and storage post covers how to make a pre-bought tub last as long as a home render anyway. Both options are why I keep both in my pantry depending on the season and how patient my household is feeling that week.
Explore more tallow guides
Browse our collection of recipes, comparisons, reviews and DIY tutorials.
View all guidesKing Tallow is reader-supported. We research and test the products we recommend, and when you buy through links on this page we may earn a commission at no extra cost to you. See our affiliate disclosure.
Published