How to Render Beef Tallow at Home: Step-by-Step Guide (Wet and Dry Methods)
Reader-supportedHow to render beef tallow at home: prep suet, render wet or dry at 200-250°F, strain, and store. Method comparison, times, yields, and troubleshooting.

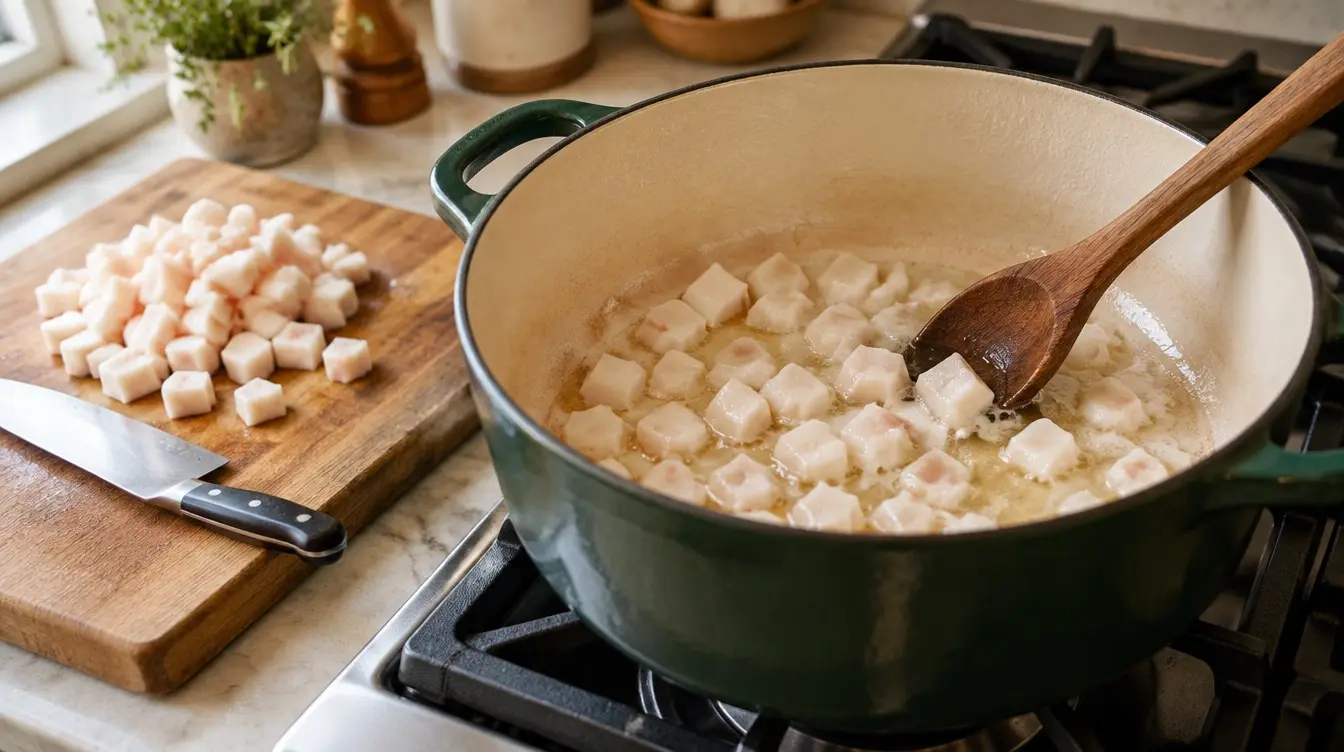
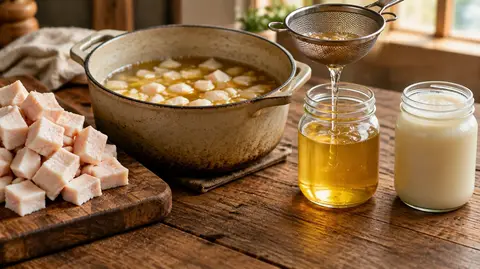
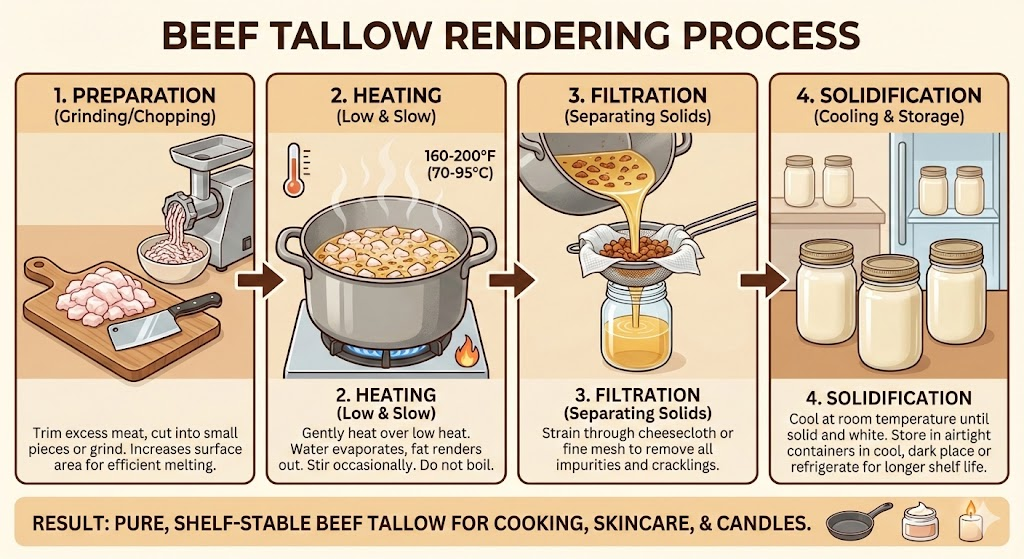
To render beef tallow, cut cold beef suet into small pieces, melt it slowly over low heat (keep the liquid fat around 200-250°F) for 3 to 8 hours until the solid bits turn golden and sink, then strain the clear fat through cheesecloth into clean jars. Add a little water at the start (wet rendering) for a milder, whiter tallow, or skip the water (dry rendering) for a beefier flavor. Clean kidney suet typically returns about two-thirds to three-quarters of its weight as tallow.
We test and research the products we recommend. If you buy through our links, we may earn a commission at no extra cost to you.
Rendering Methods Compared
Pick the heat source first. Every method uses the same prep and straining; only the vessel and the babysitting change.
| Method | Heat setting | Typical time (3-5 lb fat) | Hands-on attention | Best for |
|---|---|---|---|---|
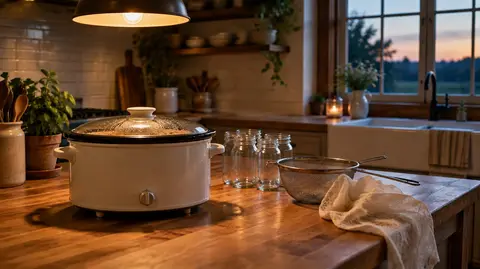
| Slow cooker | LOW | 6-10 hours | Low; stir every hour or two | Beginners, mild tallow, overnight batches |
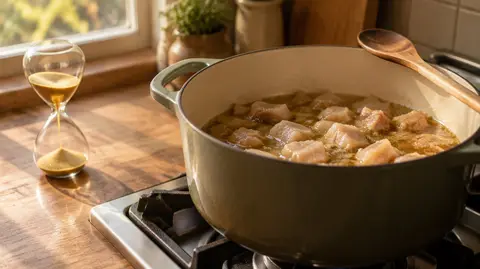
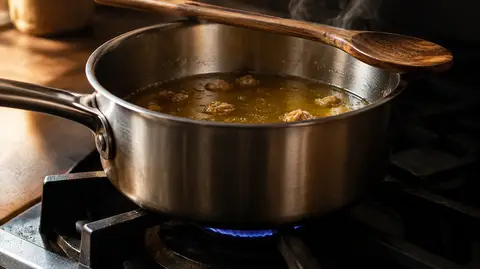
| Stovetop, heavy pot or Dutch oven | Lowest burner setting | 2-4 hours | High; stir every 15-30 min | Fast batches, cooks who stay in the kitchen |
| Oven, Dutch oven inside | 225-250°F | 3-5 hours | Medium; check hourly | Even heat, larger batches |
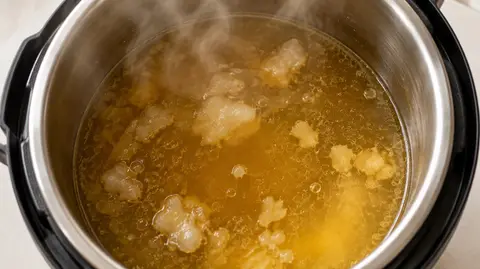
| Instant Pot | Slow cook mode | 4-6 hours | Low | Small kitchens (don’t use pressure mode) |
| Wet rendering (any vessel) | Water added at start | Adds 30-60 min to evaporate water | Same as vessel | White, neutral tallow for skincare, baking, soap |
| Dry rendering (any vessel) | No water | Slightly faster | Stir more early on | Beefy frying tallow, cracklings |
For a deeper head-to-head, see wet vs dry rendering methods and oven vs stovetop rendering.
What Fat to Use: Suet, Back Fat, or Trim
The fat you start with decides your flavor, color, and yield more than any technique does.
Kidney suet is the dense, crumbly fat around the kidneys and loin. It has the least moisture and connective tissue, the mildest flavor, and the highest yield. Ask the butcher for “beef suet” or “kidney fat for rendering.” USDA FoodData Central lists raw beef suet at roughly 94 grams of fat per 100 grams, which is why it renders so cleanly.
Back fat and clean trim (the subcutaneous layer from the back, brisket, or steaks) is softer, carries more water and tissue, and gives a slightly beefier tallow at a lower yield.
Mixed trim is whatever scraps the butcher has left. Quality varies. Ask for it cleaned of meat and gristle, because protein is what scorches and shortens shelf life.
Grass-fed or grain-fed both render the same way. Grass-fed fat often produces a more yellow tallow because of beta-carotene; see grass-fed vs grain-fed tallow for the differences. For sourcing, the guide to the best beef fat sources for rendering and the best cuts for tallow cover butchers, farms, and online options.
Equipment You Need
You probably own most of this already. The full breakdown by budget is in the tallow rendering equipment guide.
- A heavy vessel. A 6-8 quart slow cooker such as the Crock-Pot 7-Quart Manual Slow Cooker, or a heavy Dutch oven like the Lodge 6-Quart Enameled Cast Iron Dutch Oven. The light enamel interior makes it easier to see browning before it becomes burning. Thin pots scorch.
- A thermometer. This is the tool that prevents burnt tallow. A clip-on fry thermometer like the ThermoPro TP509 stays in the pot so you can watch the fat temperature without hovering.
- A fine-mesh strainer. A set like the Cuisinart stainless mesh strainers (3 sizes) covers both the first coarse pass and smaller jar pours.
- Cheesecloth. Grade 90 is tight enough to catch fine sediment, for example this unbleached Grade 90 cheesecloth. A clean cotton flour-sack towel works too.
- Heatproof jars. Wide-mouth quart jars such as Ball wide-mouth quart jars handle hot fat and make it easy to scoop solid tallow later.
- A sharp knife or food processor, a heatproof spatula or wooden spoon, a ladle, and a funnel.
Step 1: Prep the Fat
- Work with cold fat. Cold fat cuts cleanly; room-temperature fat smears. Some cooks freeze it for 20-30 minutes before cutting.
- Trim. Remove visible meat, blood spots, and large pieces of membrane. These are what scorch and cause off smells.
- Cut small. Aim for ½- to 1-inch cubes. Smaller pieces release fat faster and more completely.
- Or grind it. Pulse cold fat in a food processor until it looks like coarse rice. Stop before it turns to paste. Ground fat can cut rendering time substantially.
- Pat dry so surface water doesn’t spit when it hits the pot.
Step 2: Render
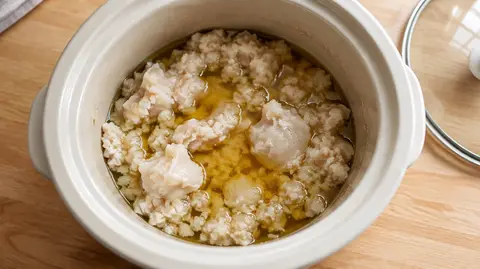
Wet rendering (mildest, whitest tallow)
- Put the prepped fat in the pot or slow cooker.
- Add water: roughly ¼ to ½ cup per pound of fat, or enough to cover the bottom by about half an inch. Some cooks add more, up to a third of the fat’s depth; the extra just takes longer to cook off.
- Heat on LOW (slow cooker), the lowest burner setting (stovetop), or 225-250°F (oven).
- Stir occasionally. While water remains, the pot sits near 212°F, which protects the fat from browning.
- Keep going until the water has evaporated, the fat is clear, and the cracklings have turned golden and sunk.
Wet rendering suits soap making, skincare balms, and pastry, where you want little beef flavor.
Dry rendering (beefier tallow)
- Put the prepped fat in the pot with no water.
- Start on the lowest heat and stir every 10-15 minutes for the first half hour, until a layer of liquid fat covers the bottom. After that, the melted fat protects the rest and you can stir less often.
- Keep the liquid fat between about 200°F and 250°F.
- Done when the cracklings are golden brown and the fat is clear amber. Don’t let the cracklings go dark brown.
Dry-rendered tallow is excellent for deep frying, searing, and roast potatoes.
What Temperature to Render Beef Tallow
Beef fat starts to soften and melt well below 150°F, but at those temperatures the fat never fully separates from the tissue. For practical rendering, keep the liquid fat around 200-250°F. That range drives off water, releases the fat, and browns the cracklings slowly without scorching.
- Below about 200°F: very slow extraction; water may linger in the fat.
- 200-250°F: the working range. Oven rendering at 225-250°F keeps you in it with little effort.
- Above about 260°F: cracklings brown quickly, the fat darkens, and it picks up a roasted or burnt note.
- Near 400°F: you are approaching the smoke point of home-rendered tallow. Something is wrong; take the pot off the heat.
The full temperature table, including melting point, smoke point, and flash point, is in the beef fat rendering temperature and safety guide.
How Long Does Rendering Take?
Plan for 2-4 hours on the stovetop, 3-5 hours in the oven, and 6-10 hours in a slow cooker for a 3-5 lb batch of cubed suet. Ground fat is faster; large chunks and frozen fat are slower. Wet rendering adds time while the water boils off. Timing tables by method are in how long rendering beef tallow takes.
How to Know When Tallow Is Done Rendering
Look for three signs together:
- The liquid fat is clear, not cloudy or milky.
- The cracklings have shrunk, turned golden brown, and mostly sunk to the bottom.
- Bubbling has slowed to almost nothing. Active bubbling means water is still cooking off.
If the cracklings are still pale and soft, keep going. More detail and photos are in how to know when tallow is done rendering.
Step 3: Strain
Straining is the difference between cloudy tallow and clear tallow.
- Set a fine-mesh strainer over a heatproof bowl or large measuring jug.
- Line it with two layers of cheesecloth.
- Ladle or pour the hot fat through slowly. Let gravity work; pressing the cracklings pushes fine particles through and clouds the tallow.
- For skincare, soap, or candle tallow, strain a second time through fresh cheesecloth or a paper coffee filter such as Melitta #4 cone filters. Paper is slow, so keep the fat warm.
Hot tallow can cause serious burns. Let it cool for several minutes before pouring, keep children and pets out of the kitchen, and never pour fat down the drain. The step-by-step for crystal-clear results is in how to filter and strain beef tallow.
Step 4: Jar and Store
Pour the strained fat into clean, dry glass jars. Let it cool uncovered to room temperature, then cap it. It turns from clear gold to opaque white or cream as it sets, usually within a few hours.
If a thin watery layer shows up under the solid tallow after a day, moisture got through. Lift out the solid fat, discard the liquid, and remelt the tallow gently to drive off the rest.
Well-strained, dry tallow in a sealed jar keeps for several months in a cool, dark pantry, a year or more in the fridge, and longer in the freezer. Label jars with the date. For details, see how to store rendered beef tallow and how to tell if beef tallow has gone bad.
How Much Tallow Will You Get?
Yield depends on the fat you start with:
| Fat type | Typical yield by weight | 4 lb of raw fat gives about |
|---|---|---|
| Kidney suet | 65-80% | 2.6-3.2 lb tallow |
| Back fat / clean trim | 55-65% | 2.2-2.6 lb |
| Meaty mixed trim | 40-55% | 1.6-2.2 lb |
One pound of tallow is roughly 2 cups. To plan a batch backward from how much tallow you need, use the beef fat to tallow yield calculator.
Troubleshooting
Cloudy tallow. Usually leftover water or fine particles. Remelt gently until bubbling stops, then strain through fresh cheesecloth or a coffee filter. See why rendered tallow turns cloudy.
Strong or off smell. Blood spots or meat left on the fat, or heat that ran too high. To mellow a batch, melt it with an equal volume of water and a pinch of salt, simmer briefly, chill overnight, then lift off the solid fat disk and scrape the gray layer from its underside. Repeat if needed. More in how to render beef tallow without the smell and why tallow smells bad.
Brown specks. Crackling fragments that slipped through. Harmless for cooking; restrain for skincare or candles.
Tallow is soft or greasy when set. Often water contamination or a softer fat source. Remelt, cook off any water, and restrain. See why tallow won’t solidify.
Scorched, bitter tallow. Heat was too high. There is no fix for the flavor; use that batch for candles, leather conditioner, or soap instead of food.
Cracklings never crisped. The render ran too cool or too short. Give it more time, or finish the cracklings separately in a hot skillet.
More pitfalls are collected in common beef tallow rendering mistakes.
Using Your Cracklings and Tallow
Cracklings are edible: salt them and eat them like pork rinds, or chop them into cornbread, biscuits, or eggs. They contain protein, so refrigerate them and use within a few days, or freeze.
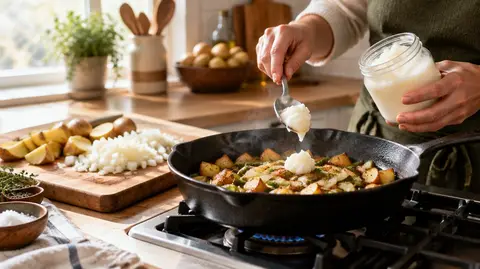
The tallow itself works for frying, roasting vegetables, pie crust, and seasoning cast iron. One tablespoon of solid tallow melts to about one tablespoon of liquid fat, so swap it one-for-one with oil.
When to Buy Instead of Render
Rendering makes sense if you have a butcher who sells suet cheaply and a few hours at home. Buying pre-rendered tallow makes more sense if you cook with it only occasionally, live somewhere the smell will bother neighbors, or can’t find clean fat. For bulk cooking and frying, the 100% Pure Grass-Fed Beef Tallow (4 lbs) is a ready-to-use option. For skincare, soap, or candles, the deodorized Traverse Bay 32 oz saves you the double strain and the smell.
Frequently Asked Questions
What temperature should I render beef tallow at?
Keep the liquid fat around 200-250°F. In the oven, set it to 225-250°F. On the stove, use the lowest setting and adjust so the thermometer stays in that band.
Can I render frozen suet?
Yes, but thaw it enough to cut. Frozen chunks go in cold and can add an hour or more to the render.
Does rendering tallow make the house smell?
It smells like cooking beef while it renders. Wet rendering and lower temperatures smell less. Open a window or run the slow cooker in a garage or on a porch.
Can I use an Instant Pot?
Use the slow cook function. Pressure-cook mode traps water in the fat and doesn’t let it evaporate. See the Instant Pot rendering guide.
Is grass-fed suet worth the extra cost?
For skincare, many people prefer it. For everyday cooking the difference is small. Both render the same way.
How do I render tallow in a slow cooker?
Put cubed or ground suet in the slow cooker with a little water, set it to LOW, leave the lid slightly ajar so moisture can escape, and stir every hour or two for 6-10 hours. The full walkthrough is in the slow cooker rendering guide.
Bottom Line
Rendering beef tallow comes down to three things: small pieces of clean suet, gentle heat around 200-250°F, and careful straining. Use the wet method for neutral tallow and the dry method for frying tallow. Start with 3-4 pounds of kidney suet, expect roughly two-thirds to three-quarters of that weight back as tallow, and store it in clean, dry jars.
Explore more tallow guides
Browse our collection of recipes, comparisons, reviews and DIY tutorials.
View all guidesKing Tallow is reader-supported. We research and test the products we recommend, and when you buy through links on this page we may earn a commission at no extra cost to you. See our affiliate disclosure.
Published · Last updated