Beef Tallow Steak: How to Cook the Perfect Sear at Home
Reader-supportedHow to cook a perfect tallow-seared steak at home using the reverse sear method, cast iron, and a 130F pull. Real technique, real numbers, no shortcuts.

This post contains affiliate links. We may earn a commission if you purchase through these links, at no extra cost to you.
I cook a steak in beef tallow about twice a week. Sometimes ribeye, sometimes a New York strip, occasionally a flat iron when the grocery store has them marked down. I switched away from butter about three years ago, and I am not going back.
This is the method I use every time. It is the reverse sear, it ends in a cast iron pan, and the fat in that pan is tallow, not olive oil and not butter. The steak comes out with a dark, even crust, a fully pink interior edge to edge, and zero of the bitter scorched-dairy flavor you get when butter hits 400F.
I will walk you through the whole process. Why tallow beats butter for the sear. The oven setup. The pan technique. The pull temperature. The basting move at the end that actually matters. And the small mistakes that wreck a good steak even when the meat itself was fine.
Why Tallow Is the Right Fat for Searing Steak
Butter is a great finishing fat. It is a bad searing fat. The milk solids in butter start to burn around 350F, and a proper steak sear happens between 425F and 475F at the surface of the pan. By the time you have actually colored the meat, the butter has gone from golden to brown to black, and the brown bits stuck to the pan are bitter, not nutty.
Tallow does not have milk solids. Pure rendered beef fat is just fat. Its smoke point sits around 400F to 420F depending on how clean the render was, and unlike butter, it does not have a separate component that scorches faster than the rest. You can push tallow harder. You get the dark crust without the bitterness.
There is also the flavor argument. Tallow is rendered beef fat. You are searing beef in beef. The two flavors layer instead of fighting. Butter on steak is good. Tallow on steak tastes like the inside of an old steakhouse.
If you want the longer version of the smoke point math, I covered it in the smoke point and temperature guide. For the butter comparison specifically, the butter vs tallow piece is the one I send to people who refuse to believe me.
What You Need
Equipment is short. Cast iron skillet, instant-read thermometer, a sheet pan with a wire rack, tongs, and a spoon for basting. That is it. No sous vide, no torch, no special grill.
For the tallow itself, I use 100% Pure Grass-Fed Beef Tallow (4 lbs) because four pounds lasts me about two months of regular cooking and the price per ounce beats almost everything else I have tested. If you want a smaller jar to try the method before committing, Traverse Bay Farms Beef Tallow (32 oz) is the budget pick.
For steak, I want a ribeye or strip at least one and a quarter inches thick. Thinner cuts are not worth the reverse sear because they overcook before the crust forms. If you only have a thinner steak, skip the oven and just hit it hard in the pan from the start.
The Reverse Sear Method, Step by Step
This is the part most people get wrong. They sear first, then finish in the oven. That is the old way. It gives you a gray band of overcooked meat under the crust and a panicked guess about doneness in the middle.
The reverse sear flips the order. Slow oven first, hot pan last. The meat warms gently and evenly. The crust gets all your attention at the end. The result is uniform pink edge to edge and a crust you can hear when you cut into it.
Step 1: Salt the steak early
Pull the steak out of the fridge. Pat it dry with paper towels. Salt both sides with kosher salt. Use more than you think. About three quarters of a teaspoon per side for a one-inch-thick ribeye.
Let it sit on a wire rack over a sheet pan for at least 40 minutes, ideally 60. Two things happen in this window. The salt pulls moisture to the surface, then the moisture reabsorbs with dissolved salt, seasoning the meat all the way through. And the surface dries out, which is the single most important variable for getting a real crust later. Wet meat will steam. Dry meat will sear.
Do not salt it and immediately put it in the oven. That is the worst window. You get the moisture without the reabsorption.
Step 2: Slow oven to 250F
Preheat the oven to 250F. Some people go as low as 200F. I find 250F gets me there in about 25 minutes for a one-and-a-quarter-inch ribeye, which is the right pace.
Slide the wire rack with the steak into the middle of the oven. Insert an instant-read thermometer probe into the thickest part of the meat, not touching bone if there is one.
Pull the steak at 110F internal. I know other guides say 115F or 120F, but the pan sear will add another 15F to 20F before you are done, and 110F gives me the most flexibility. If you want medium rare at 130F to 135F final, pull at 110F. If you want medium, pull at 115F.
This takes 25 to 35 minutes depending on the thickness and starting temperature.
Step 3: Heat the cast iron hard
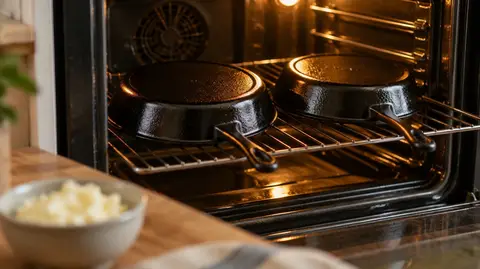
While the oven is finishing, set your cast iron skillet on the largest burner you have and turn it to medium-high. Let it heat dry for a full eight minutes. Empty pan. No fat yet.
You want the surface temperature in the 425F to 475F range. If you have an infrared thermometer, use it. If not, the water test works. Flick a few drops of water at the pan. They should ball up, skitter, and evaporate in about two seconds. If they vanish on contact, too hot. If they sit and steam, too cold.
The reason for the dry preheat is simple. Cast iron does not conduct heat evenly until it is fully soaked through. If you add fat to a half-hot pan, the fat heats faster than the pan, you put the steak in, and the pan cools instantly under the meat. No crust.
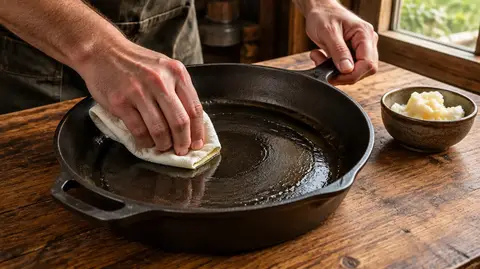
For a deeper dive into pan choice and seasoning that actually holds up to this kind of cooking, the cast iron seasoning guide is the one I wrote for people who are tired of their pans going sticky after every wash.
Step 4: Add tallow and sear
When the steak hits 110F internal and the pan is screaming hot, add two tablespoons of tallow to the pan. It will melt and shimmer in about three seconds. If it smokes immediately, the pan is too hot. Pull it off the heat for 30 seconds and try again.
Lay the steak in the pan, away from you so the fat does not splash back. You should hear a loud, immediate sizzle that does not let up. If the sizzle is quiet, the meat is wet or the pan is not hot enough.
Do not move the steak. Do not press on it. Do not check the underside for at least 90 seconds. Set a timer if you have to.
At 90 seconds, lift one corner with tongs and look. You want a dark, even brown across the surface. If the color is good, flip. If it is still pale, give it another 30 seconds.
Sear the second side for another 90 seconds.
Step 5: Baste at the finish
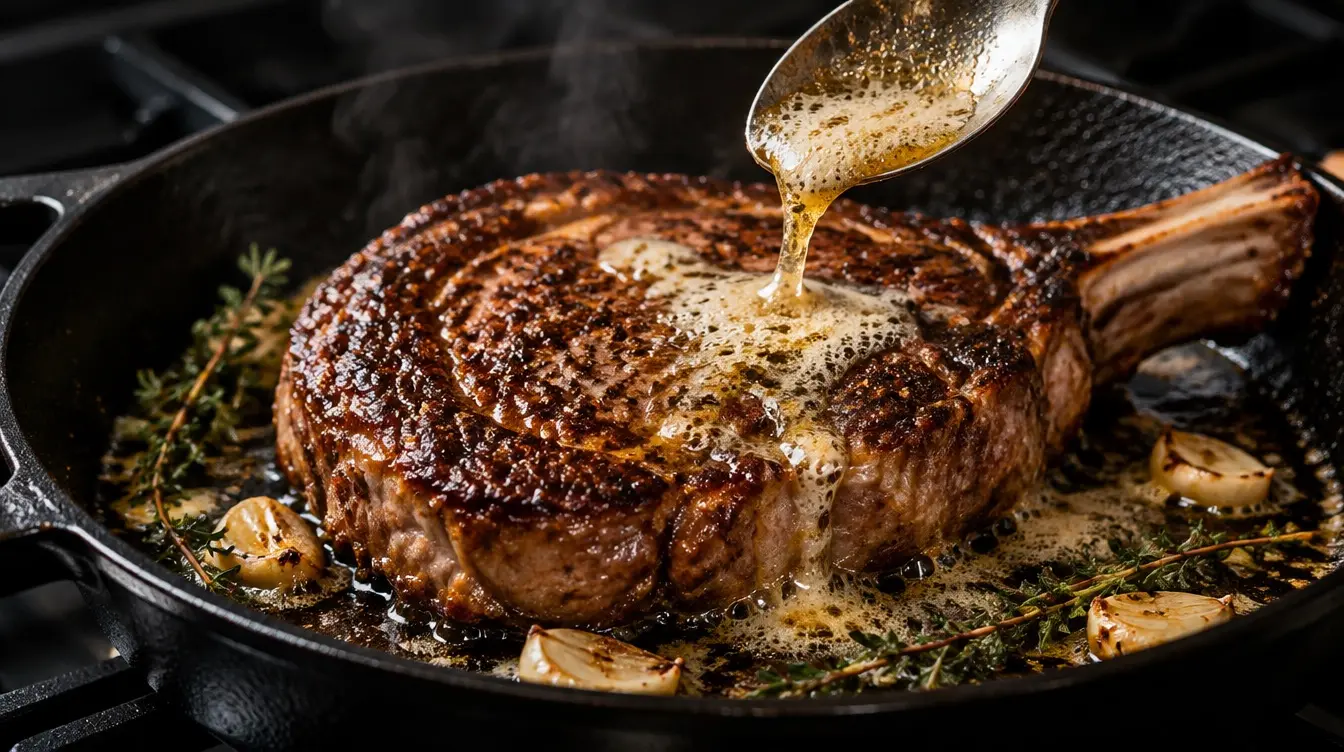
Tilt the pan toward you slightly so the tallow pools at the lower edge. Drop a small smashed garlic clove and a sprig of thyme or rosemary into the fat if you have it. Spoon the hot tallow over the top of the steak for about 30 seconds. Six or seven big spoonfuls.
The basting does two things. It finishes any uneven spots on the top surface, and it carries the herb and garlic into the meat without burning them. The garlic should be golden, never black.
Check the internal temperature one more time. Pull when it reads 125F for medium rare. The carryover during rest will bring it to 130F to 135F.
For a medium finish, pull at 130F. For medium well, pull at 135F. I do not recommend going past that, but you are an adult.
Step 6: Rest
Move the steak to a cutting board. Do not skip this. Five minutes of rest is the difference between juice in your steak and juice on your cutting board. Tent loosely with foil if your kitchen is cold. Leave it uncovered if the kitchen is warm and you want to keep the crust crisp.
Slice against the grain. The grain on a ribeye runs from the bone side toward the cap. On a strip it runs the length of the steak. Cut perpendicular to those lines.
Common Mistakes I See
Cooking the steak straight from the fridge. Cold meat needs longer in the pan, which overcooks the outer layer before the inside catches up. Always pull from the fridge at least 30 minutes early.
Crowding the pan. One steak per skillet. Two steaks in a 10-inch cast iron cool the pan and steam the meat. If you are cooking for a crowd, work in batches or use two pans.
Using bottled tallow that has gone rancid. Tallow stores well, but it does not store forever. If your jar smells sour or cardboardy, throw it out. The tallow storage guide covers shelf life in detail.
Adding butter at the start of the sear. People love mixing tallow and butter. Save the butter for the basting step, not the sear. If you want that compound-butter finish, slice cold herb butter over the rested steak instead of melting it into the pan.
Skipping the dry. If your steak surface is damp when it hits the pan, you have already lost. Pat it twice. Use fresh paper towels. The salt rest helps, but a final pat right before the sear is non-negotiable.
For step-by-step photo references and pan choices, our cooking steak in tallow page has the equipment breakdown and a printable version of this method.
Frequently Asked Questions
Can I use beef tallow for grilling instead of pan searing?
Yes, but the technique changes. On a grill, brush a thin layer of melted tallow on the steak right before it hits the grates rather than putting fat directly on the fire. Tallow drips will flare up and char the meat. For high-heat grilling specifically, the tallow vs butter for spring grilling piece covers smoke point under outdoor conditions.
What temperature should I pull the steak from the oven?
For medium rare with a final temperature of 130F to 135F, pull at 110F internal. The pan sear adds 15F to 20F of carryover. If you want medium, pull at 115F. Adjust your pull temperature by 5F for every doneness step you want above medium rare.
Does grass-fed tallow taste different than grain-fed?
Slightly. Grass-fed tallow has a faintly grassier, more mineral flavor and tends to melt a few degrees lower. For searing, the difference is small. For finishing or basting, you might notice it. Most people prefer grass-fed for the cleaner flavor and the fatty acid profile.
Can I sear in a stainless pan instead of cast iron?
You can. Stainless heats faster but loses heat faster, so the sear window is shorter. Preheat for six minutes instead of eight, and do not flip until the steak releases on its own. If it sticks, it is not ready.
How much tallow do I need per steak?
Two tablespoons for the sear, plus another tablespoon held back for the basting step if you want a richer finish. A 32 oz jar will get you through about 40 steaks of pan time, plus all the cooking you do in between.
Bottom Line
The reverse sear with tallow is the most consistent steak method I have used at home, and it has been my default for years. Slow oven to 110F internal, dry pan to 450F, two tablespoons of tallow, 90 seconds a side, baste for 30 seconds, rest for five minutes. Once you internalize that rhythm, you do not need a recipe anymore.
If you want a single jar to start with, Traverse Bay Farms (32 oz) covers you for about a month. If you cook steak weekly, the 4 lb grass-fed jar is the better per-ounce buy and will hold up in a cool pantry for a long time.
Explore more tallow guides
Browse our collection of recipes, comparisons, reviews and DIY tutorials.
View all guidesKing Tallow is reader-supported. We research and test the products we recommend, and when you buy through links on this page we may earn a commission at no extra cost to you. See our affiliate disclosure.
Published